1. Introduction
When developing a Chrome extension with the WXT framework, you may want to provide users with a quick settings interface through the extension icon while keeping more advanced configuration options in a separate, full-page interface.
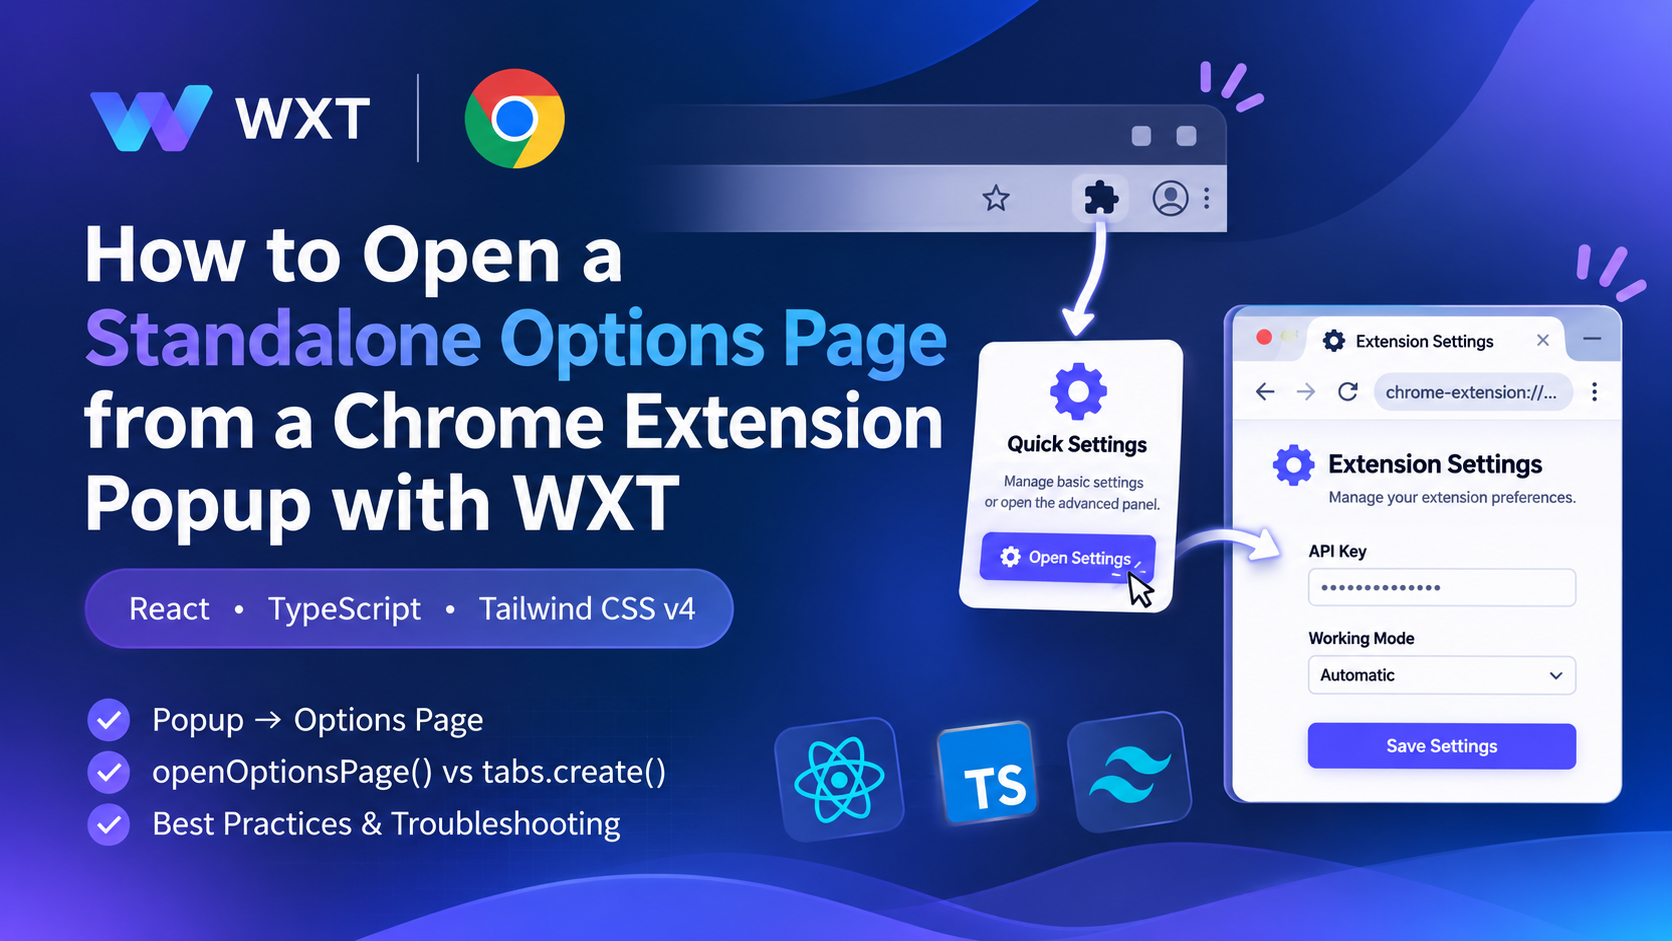
A common user experience looks like this:
- The user clicks the Chrome extension icon.
- A small Popup window appears.
- The user clicks a Settings button inside the Popup.
- The Popup closes, and a standalone Options page opens in a new browser tab.
Although Chrome provides a built-in API called browser.runtime.openOptionsPage(), its behavior may not always match the expected navigation experience.
This article explains how to implement this functionality using WXT, React, and Tailwind CSS v4, including a practical solution for opening the Options page directly in a new browser tab.
2. Project Structure
WXT uses a file-based entrypoint system. Instead of manually configuring every extension page in manifest.json, you can organize your pages under the entrypoints/ directory.
For this implementation, both Popup and Options entrypoints should exist.
Recommended project structure:
my-extension/
├── entrypoints/
│   ├── popup/
│   │   ├── index.html
│   │   ├── main.tsx
│   │   └── App.tsx
│   │
│   └── options/
│       ├── index.html
│       ├── main.tsx
│       └── App.tsx
│
├── assets/
│   └── main.css
│
├── wxt.config.ts
└── package.json
The two entrypoints serve different purposes:
| Entrypoint | Purpose |
|---|---|
popup/ | Displays the small interface when users click the extension icon. |
options/ | Provides a standalone page for advanced settings. |
Keeping these entrypoints separate makes the application easier to maintain and extend.
3. Implement the Popup Interface
First, create the Popup interface using React and Tailwind CSS v4.
3.1 Popup component
File: entrypoints/popup/App.tsx
import React from 'react';

export default function App() {
  const handleOpenOptions = async () => {
    try {
      await browser.runtime.openOptionsPage();
    } catch (error) {
      console.error('Failed to open options page:', error);
    }
  };

  return (
    <div className="w-72 p-4 bg-white text-slate-800 antialiased">
      <header className="mb-4">
        <h2 className="text-md font-bold text-slate-900">
          Quick Settings
        </h2>

        <p className="text-xs text-slate-500 mt-0.5">
          Manage basic settings or open the advanced panel.
        </p>
      </header>

      <main className="py-2">
        <p className="text-xs text-slate-600 bg-slate-50 p-3 rounded-lg border border-slate-100">
          For advanced settings, API key management, and
          additional configuration, open the full settings page.
        </p>
      </main>

      <footer className="mt-4 pt-3 border-t border-slate-100">
        <button
          type="button"
          onClick={handleOpenOptions}
          className="
            w-full flex items-center justify-center gap-2
            text-sm font-medium px-4 py-2.5
            text-white bg-indigo-600 hover:bg-indigo-500
            active:scale-[0.98]
            rounded-lg shadow-sm shadow-indigo-600/10
            transition-all duration-150 cursor-pointer
          "
        >
          Open Settings
        </button>
      </footer>
    </div>
  );
}
The important part is:
await browser.runtime.openOptionsPage();
This calls the browser’s built-in extension API to open the configured Options page.
However, the actual presentation depends on the browser’s Options page configuration.
4. Configure the Options Page
Before navigating to the Options page, make sure WXT recognizes it as a valid entrypoint.
4.1 Create the Options HTML file
File: entrypoints/options/index.html
<!DOCTYPE html>
<html lang="en">
<head>
  <meta charset="UTF-8">
  <title>Extension Settings</title>
</head>

<body class="bg-slate-50">
  <div id="root"></div>

  <script type="module" src="./main.tsx"></script>
</body>
</html>
4.2 Mount the React application
File: entrypoints/options/main.tsx
import { StrictMode } from 'react';
import ReactDOM from 'react-dom/client';

import App from './App';
import '@/assets/main.css';
import './App.css';

ReactDOM.createRoot(
  document.getElementById('root')!
).render(
  <StrictMode>
    <App />
  </StrictMode>
);
4.3 Create the Options interface
File: entrypoints/options/App.tsx
Unlike the Popup, the Options page is a regular webpage with enough space for more complex configuration interfaces.
For example:
import React from 'react';

export default function App() {
  return (
    <div className="min-h-screen bg-slate-50 text-slate-800 antialiased p-8 flex justify-center items-start">

      <div className="w-full max-w-2xl bg-white border border-slate-200/80 rounded-2xl shadow-xs p-6 mt-6">

        <header className="mb-6 pb-4 border-b border-slate-100">
          <h1 className="text-xl font-bold text-slate-900">
            Extension Settings
          </h1>

          <p className="text-sm text-slate-500 mt-1">
            Manage your extension preferences and advanced configuration.
          </p>
        </header>

        <main className="space-y-5">

          <div className="flex flex-col gap-1.5">
            <label
              htmlFor="api-key"
              className="text-sm font-semibold text-slate-700"
            >
              API Key
            </label>

            <input
              id="api-key"
              type="password"
              placeholder="Enter your API key"
              className="
                w-full text-sm px-3 py-2
                bg-slate-50 border border-slate-200
                rounded-lg
                focus:outline-2 focus:outline-indigo-500/20
                focus:border-indigo-500
                transition-colors
              "
            />
          </div>

          <div className="flex flex-col gap-1.5">
            <label
              htmlFor="quick-mode"
              className="text-sm font-semibold text-slate-700"
            >
              Working Mode
            </label>

            <select
              id="quick-mode"
              className="
                w-full text-sm px-3 py-2
                bg-slate-50 border border-slate-200
                rounded-lg
                focus:outline-2 focus:outline-indigo-500/20
                focus:border-indigo-500
                transition-colors
              "
            >
              <option value="auto">Automatic</option>
              <option value="manual">Manual</option>
            </select>
          </div>

        </main>

        <footer className="mt-8 pt-4 border-t border-slate-100 flex justify-end">
          <button
            type="button"
            className="
              text-sm font-medium px-5 py-2
              text-white bg-indigo-600 hover:bg-indigo-500
              active:scale-[0.98]
              rounded-lg shadow-sm shadow-indigo-600/10
              transition-all duration-150 cursor-pointer
            "
          >
            Save Settings
          </button>
        </footer>

      </div>
    </div>
  );
}
The example above provides the basic layout. You can subsequently integrate chrome.storage or WXT’s storage utilities to persist configuration values.
5. Problem: openOptionsPage() Opens an Embedded Options Window
During development, you may discover that calling:
await browser.runtime.openOptionsPage();
does not open a normal browser tab.
Instead, Chrome may display the Options interface as an embedded dialog inside its extension management page.
For example:
chrome://extensions/?options=YOUR_EXTENSION_ID
This is related to how Chrome handles extension Options pages.
Chrome supports the open_in_tab property in the options_ui manifest configuration:
{
  "options_ui": {
    "page": "options.html",
    "open_in_tab": true
  }
}
When enabled, Chrome is instructed to display the Options page in a browser tab instead of its embedded interface.
5.1 Configure open_in_tab in WXT
WXT generates the extension manifest from its entrypoints and configuration.
For HTML entrypoints, WXT supports declaring manifest properties through HTML meta tags.
Add the following meta tag to:
entrypoints/options/index.html
<meta
  name="manifest.options_ui.open_in_tab"
  content="true"
/>
Your HTML head should look like this:
<head>
  <meta charset="UTF-8">

  <title>Extension Settings</title>

  <meta
    name="manifest.options_ui.open_in_tab"
    content="true"
  />
</head>
After making this change:
- Remove any conflicting
options_uiconfiguration fromwxt.config.ts. - Restart the WXT development server.
- Rebuild or reload the extension.
- Inspect the generated manifest to verify that
open_in_tabis actually set totrue.
This approach is useful when you want to retain the native Options page mechanism.
However, if your requirement is simply to open a normal extension page in a new browser tab, there is another approach.
6. Recommended Solution: Use browser.tabs.create()
If you want complete control over the navigation behavior, use:
browser.tabs.create()
Instead of relying on the browser’s built-in Options page opening behavior, you can directly create a new browser tab pointing to your extension’s Options HTML file.
6.1 Update the Popup navigation function
Replace the original handleOpenOptions function in entrypoints/popup/App.tsx with:
const handleOpenOptions = async () => {
  try {
    // 1. Get the absolute URL of the Options page
    const optionsUrl = browser.runtime.getURL('/options.html');

    // 2. Open the Options page in a new browser tab
    await browser.tabs.create({
      url: optionsUrl,
    });

    // 3. Close the current Popup window
    window.close();

  } catch (error) {
    console.error(
      'Failed to open the Options page:',
      error
    );
  }
};
6.2 How it works
There are three important operations:
Step 1: Resolve the extension page URL
browser.runtime.getURL('/options.html');
WXT builds the Options entrypoint into an extension HTML resource. Its URL typically looks like:
chrome-extension://YOUR_EXTENSION_ID/options.html
Using browser.runtime.getURL() avoids hardcoding the extension ID.
Step 2: Create a new browser tab
await browser.tabs.create({
  url: optionsUrl,
});
This explicitly instructs Chrome to open the specified extension page in a new tab.
It does not rely on Chrome’s Options page presentation mechanism.
Step 3: Close the Popup
window.close();
Once the new tab has been created, the current Popup closes.
This provides a smoother transition from the compact Popup interface to the full settings page.
7. Comparison: openOptionsPage() vs. tabs.create()
Both APIs can open an extension settings page, but their behavior is different.
| Feature | openOptionsPage() | tabs.create() |
|---|---|---|
| Opens the configured Options page | Yes | No, opens the specified URL |
| Supports a new browser tab | Depends on Options configuration | Yes |
| Uses Chrome’s native Options behavior | Yes | No |
| Supports custom extension pages | No | Yes |
| Explicitly controls the destination URL | No | Yes |
For a Popup-to-full-page navigation workflow, browser.tabs.create() is a straightforward solution.
One important detail: if you use browser.tabs.create(), make sure the generated Options page URL is correct. The example assumes WXT outputs the page as /options.html.
8. Common Troubleshooting
If the Options page does not open correctly, check the following items.
8.1 Verify the entrypoint directory
Make sure the Options page exists:
entrypoints/options/index.html
Also verify that the React application is mounted correctly.
8.2 Verify the generated HTML path
The example uses:
browser.runtime.getURL('/options.html');
If your WXT build configuration or output structure differs, inspect the generated build directory and adjust the URL accordingly.
8.3 Check extension permissions
The extension must have access to the relevant browser APIs.
For this implementation, you can declare the storage permission if your settings page needs to persist configuration:
manifest: {
  permissions: ['storage'],
}
The tabs.create() operation itself does not require the "tabs" permission merely to create a tab and navigate to a URL.
8.4 Reload the extension
After modifying entrypoints or manifest configuration:
- Stop the WXT development server.
- Restart the development server.
- Reload the extension from
chrome://extensions. - Open the Popup and test the navigation button.
8.5 Inspect the Popup console
Right-click the Popup and select Inspect to open its developer tools.
Check the Console for errors related to:
- Invalid extension URLs.
- Missing Options HTML files.
- Browser API access.
- React rendering failures.
9. Conclusion
When building a Chrome extension with WXT and React, separating the Popup interface from the full Options page is a practical way to organize user settings.
The Popup should focus on quick actions and frequently used controls, while the Options page should handle more complex configuration and management features.
For navigation, browser.runtime.openOptionsPage() is appropriate when you want to use Chrome’s native Options page behavior.
However, if you specifically want to open an extension page in a new browser tab and close the current Popup, the following implementation is more direct:
const optionsUrl = browser.runtime.getURL('/options.html');

await browser.tabs.create({
  url: optionsUrl,
});

window.close();
This approach provides predictable tab-based navigation without depending on Chrome’s embedded Options page presentation.