1. Background
When using GitHub Actions to automate development workflows, a common requirement is to generate files in one repository and synchronize them to another.
Typical use cases include:
- Scraping data from external websites on a schedule.
- Automatically generating Markdown files.
- Synchronizing generated content to a personal blog repository.
- Committing and pushing changes to trigger subsequent deployment workflows.
For example, consider the following two GitHub repositories:
| Repository | Purpose |
|---|---|
| Scraper Repository | Contains the scraping application and GitHub Actions workflow |
| zhangdapeng.dev | Contains the Hugo blog source code and articles |
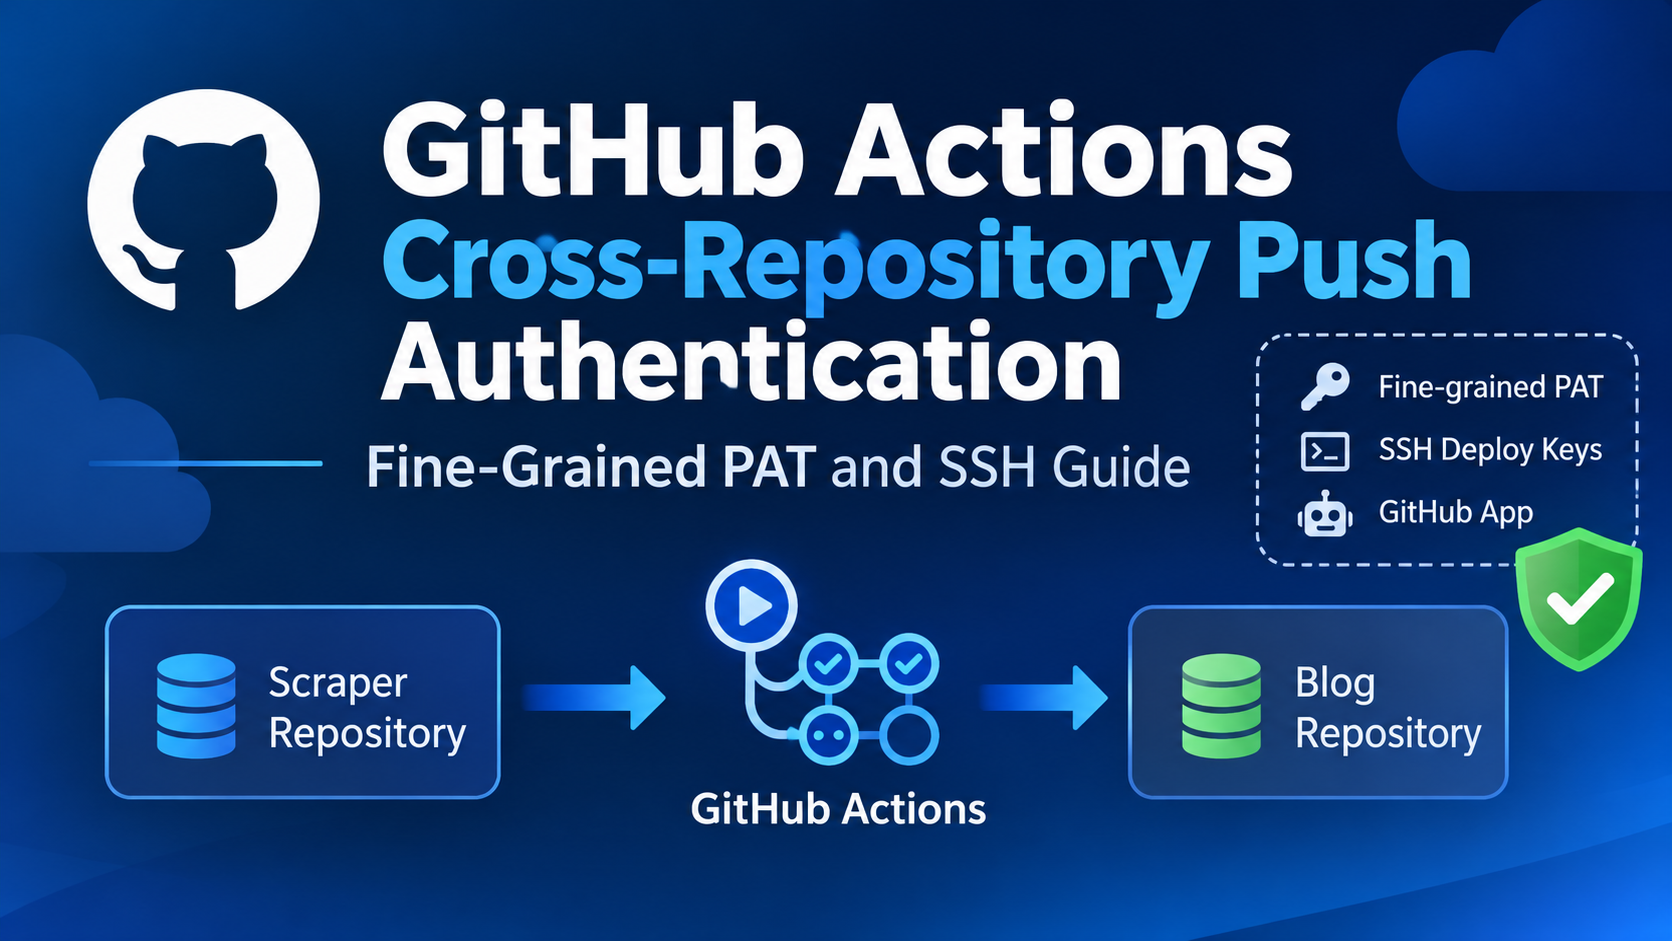
The Scraper Repository runs a scheduled scraping task every day and synchronizes the generated Markdown files to the content/6-minute-english directory in the blog repository.
The overall workflow looks like this:
GitHub Actions
      |
      v
Run Scraper
      |
      v
Generate Markdown Files
      |
      v
Git Sync
      |
      v
git add / git commit
      |
      v
git push origin main
      |
      v
zhangdapeng.dev
Initially, I used the default GITHUB_TOKEN provided by GitHub Actions for authentication.
However, the push operation failed with the following error:
it push origin main failed (128):
fatal: could not read Password for
'https://***@github.com': No such device or address

ELIFECYCLE Command failed with exit code 1.
Error: Process completed with exit code 1.
At first glance, this looks like a Git HTTPS authentication problem. To understand the root cause, we need to look at how GitHub Actions handles authentication and repository permissions.
2. Root Cause: GITHUB_TOKEN Repository Permission Restrictions
One important detail is easy to overlook:
The automatically generated GITHUB_TOKEN is scoped to the repository associated with the current workflow. It does not automatically grant write access to other repositories, even if they belong to the same GitHub account.
For example:
GitHub Account: durban89

Repository A:
scraper-project

Repository B:
zhangdapeng.dev
Suppose the workflow runs in Repository A:
GIT_SYNC_REPO: "https://github.com/durban89/zhangdapeng.dev.git"
GIT_SYNC_TOKEN: ${{ secrets.GITHUB_TOKEN }}
The GITHUB_TOKEN is a temporary authentication credential generated by GitHub for the current workflow run.
Its permissions are controlled by the repository’s Actions settings and the workflow’s permissions configuration.
Even though both repositories belong to the same GitHub account, the token generated for Repository A does not automatically have permission to push changes to Repository B.
2.1 Why Doesn’t the Same Account Make a Difference?
This is part of GitHub’s security isolation model.
GitHub does not automatically allow an automated workflow in one repository to access every other repository owned by the same account.
Otherwise, if a workflow in a public repository were compromised or modified maliciously, an attacker could potentially use its credentials to access other projects.
Therefore, GitHub restricts the default workflow token to the repository and permissions associated with that workflow.
2.2 How to Identify an Authentication Problem
Insufficient repository permissions are not the only possible cause.
You should also check the following:
- Whether the token is empty or incorrectly passed through environment variables.
- Whether the token has expired or been revoked.
- Whether the token has the required Contents write permission on the target repository.
- Whether the Git synchronization script correctly handles HTTPS authentication.
- Whether the target branch has Branch Protection Rules that prevent direct pushes.
In particular:
fatal: could not read Password
This error alone does not prove that the problem is caused by cross-repository permissions.
It can also occur when Git cannot obtain valid credentials and attempts to request a password interactively, which is not possible in a non-interactive GitHub Actions environment.
Always investigate the workflow logs and token configuration together.
3. Solution 1: Use a Fine-Grained Personal Access Token
For workflows that need to push changes to another repository, one of the simplest solutions is to create a Fine-grained Personal Access Token (PAT).
Compared with traditional Personal Access Tokens, Fine-grained PATs allow you to restrict access to specific repositories and configure permissions more precisely.
3.1 Generate a Fine-Grained PAT
First, sign in to GitHub and open your personal access token settings:
https://github.com/settings/personal-access-tokens
Then follow these steps:
- Open Fine-grained tokens.
- Click Generate new token.
- Configure the basic token information.
Recommended configuration:
| Setting | Recommended Value |
|---|---|
| Token name | 6-Min-English-Sync |
| Expiration | Choose an appropriate expiration period |
| Resource owner | durban89 |
| Repository access | Only select repositories |
| Selected repositories | zhangdapeng.dev |
Next, configure the Repository permissions.
Find the following permission:
Repository permissions
    └── Contents
          └── Read and write
Set Contents to Read and write.
This is the primary permission required for Git operations such as:
git add .
git commit -m "Update content"
git push origin main
Once everything is configured, click Generate token.
Important: GitHub displays the generated token only once. Copy it immediately and store it securely.
3.2 Add the PAT to GitHub Secrets
Never hardcode the token directly into your workflow YAML file.
Instead, store it in GitHub Secrets in the repository that runs the scraping workflow.
Open the scraping repository and navigate to:
Repository
    └── Settings
          └── Secrets and variables
                └── Actions
Click New repository secret.
Use the following configuration:
Name:
SYNC_TOKEN

Secret:
Your newly generated Fine-grained PAT
After saving it, the workflow can access the secret using:
${{ secrets.SYNC_TOKEN }}
3.3 Update the GitHub Actions Workflow
Replace the original configuration:
GIT_SYNC_TOKEN: ${{ secrets.GITHUB_TOKEN }}
With your custom secret:
GIT_SYNC_TOKEN: ${{ secrets.SYNC_TOKEN }}
The complete synchronization step should look like this:
- name: Run Scraper and Sync
  run: pnpm start
  env:
    GIT_SYNC_ENABLED: "true"
    GIT_SYNC_REPO: "https://github.com/durban89/zhangdapeng.dev.git"
    GIT_SYNC_BRANCH: "main"
    GIT_SYNC_CONTENT_DIR: "content/6-minute-english"
    GIT_SYNC_TOKEN: ${{ secrets.SYNC_TOKEN }}
    GIT_SYNC_COMMIT_NAME: "durban89"
    GIT_SYNC_COMMIT_EMAIL: "[email protected]"
The underlying synchronization script can now use a PAT with the required permissions to push changes to the target repository.
4. Solution 2: Use SSH Deploy Keys
Another option is to authenticate through SSH instead of HTTPS.
This approach uses an SSH public/private key pair rather than a Personal Access Token.
It is also a valid solution for cross-repository synchronization, provided that your synchronization script supports SSH URLs.
4.1 Generate an SSH Key Pair
Run the following command in your local terminal:
ssh-keygen -t ed25519 \
  -C "[email protected]" \
  -f ./id_github_deploy
This generates two files:
id_github_deploy
id_github_deploy.pub
Their purposes are different:
| File | Purpose |
|---|---|
| id_github_deploy | Private key; must remain secret |
| id_github_deploy.pub | Public key; can be shared |
4.2 Configure a Deploy Key in the Target Repository
Open the target repository:
zhangdapeng.dev
    └── Settings
          └── Deploy keys
Click Add deploy key.
Configure the following fields:
Title:
Scraper Sync Key

Key:
Paste the complete contents of id_github_deploy.pub
Then enable:
Allow write access
Finally, save the configuration.
One important detail: Deploy Keys are read-only by default. You must explicitly enable Allow write access if you want to use the key for git push.
4.3 Add the SSH Private Key to GitHub Secrets
Return to the repository that runs the scraping workflow:
Settings
    └── Secrets and variables
          └── Actions
Create a new repository secret:
Name:
SSH_PRIVATE_KEY

Value:
Paste the complete contents of id_github_deploy
Never commit the private key to your Git repository.
4.4 Update the GitHub Actions Workflow
Before running the synchronization script, use webfactory/ssh-agent to load the private key into the workflow environment.
- name: Setup SSH Keys
  uses: webfactory/[email protected]
  with:
    ssh-private-key: ${{ secrets.SSH_PRIVATE_KEY }}

- name: Run Scraper and Sync
  run: pnpm start
  env:
    GIT_SYNC_ENABLED: "true"
    GIT_SYNC_REPO: "[email protected]:durban89/zhangdapeng.dev.git"
    GIT_SYNC_BRANCH: "main"
    GIT_SYNC_CONTENT_DIR: "content/6-minute-english"
    GIT_SYNC_COMMIT_NAME: "durban89"
    GIT_SYNC_COMMIT_EMAIL: "[email protected]"
There is one important prerequisite:
Your synchronization script must support SSH URLs and must not force HTTPS-based token authentication.
For example, if the script internally constructs the remote URL like this:
const remoteUrl = `https://${token}@github.com/${repo}.git`;
Loading an SSH key into the SSH agent will not help because the script still uses HTTPS authentication.
You would need to modify the synchronization logic to support the appropriate authentication method based on the repository URL.
If the script also requires GIT_SYNC_TOKEN to be present, that validation logic must be updated as well. Passing an arbitrary placeholder token is not a proper solution.
5. GitHub Secrets: How to Protect Tokens in Public Repositories
During this troubleshooting process, another important question comes up:
If the repository running GitHub Actions is public, is it safe to configure a token in the workflow?
The answer depends on how you configure it.
5.1 Never Hardcode a Token in YAML
Incorrect example:
env:
  GIT_SYNC_TOKEN: "ghp_xxxxxxxxxxxxxxxxx"
Or:
env:
  GIT_SYNC_TOKEN: "github_pat_xxxxxxxxx"
If you commit a plaintext token to a public repository, anyone can view it.
Even if you remove the token from the file later, it may still exist in the repository’s Git history.
Once exposed, other people could potentially use it to access the repositories and resources authorized by that token.
If a real token has already been committed, revoke it immediately and review the account for unauthorized activity.
5.2 Use GitHub Secrets Instead
The recommended approach is:
env:
  GIT_SYNC_TOKEN: ${{ secrets.SYNC_TOKEN }}
The actual token is stored in GitHub’s secret storage.
The public workflow file only contains a reference:
${{ secrets.SYNC_TOKEN }}
Other users cannot retrieve the actual secret value simply by viewing the public repository.
GitHub also attempts to redact secret values from workflow logs.
However, there is an important distinction:
GitHub Secrets are not an absolute security guarantee.
If a workflow executes untrusted third-party code and passes secrets to that code, the code may still exfiltrate those credentials through network requests or other mechanisms.
Follow these security practices:
- Grant tokens only the minimum permissions required.
- Set an appropriate expiration period for PATs.
- Never print tokens in workflow logs.
- Never write secrets into build artifacts or Git commits.
- Be cautious when executing code from untrusted Pull Requests.
- Regularly review and revoke unused tokens.
For public repositories, pay particular attention to workflow events such as pull_request_target, which can execute untrusted code in a privileged context if configured incorrectly.
6. Alternative: Use a GitHub App
If you prefer not to maintain a long-lived personal access token, you can also use a GitHub App.
A GitHub App can be installed on selected repositories and can generate short-lived access tokens dynamically during workflow execution.
The general process looks like this:
Create GitHub App
       |
       v
Configure Repository Permissions
       |
       v
Install App on Target Repository
       |
       v
Store App ID and Private Key
       |
       v
Generate Temporary Token
       |
       v
Execute Git Push
The main configuration steps are:
- Create a GitHub App under GitHub Developer Settings.
- Configure its Repository permissions.
- Set Contents to Read and write.
- Install the App on the target repository.
- Generate an App Private Key.
- Store the App ID and Private Key in the workflow repository’s GitHub Secrets.
Then use GitHub’s official action:
- name: Generate GitHub App Token
  id: generate_token
  uses: actions/create-github-app-token@v1
  with:
    app-id: ${{ secrets.SYNC_APP_ID }}
    private-key: ${{ secrets.SYNC_APP_PRIVATE_KEY }}
    owner: durban89
    repositories: zhangdapeng.dev
In the synchronization step, use:
GIT_SYNC_TOKEN: ${{ steps.generate_token.outputs.token }}
This avoids relying on a long-lived PAT.
GitHub App installation access tokens typically expire after one hour, and their permissions are limited by the App’s installation authorization.
For projects involving multiple automated workflows and cross-repository access, this approach is more suitable for long-term maintenance.
7. Comparison of Authentication Methods
Here is a comparison of the authentication methods discussed above:
| Authentication Method | Cross-Repository Write Access | Credential Management | Complexity |
|---|---|---|---|
| Default GITHUB_TOKEN | Not by default | Managed by GitHub | Low |
| Fine-grained PAT | Yes | GitHub Secrets | Low |
| SSH Deploy Key | Yes | GitHub Secrets | Medium |
| GitHub App Token | Yes | App Private Key + Temporary Token | High |
There is one important exception worth mentioning.
If your workflow only needs to modify the repository in which it runs, you can explicitly grant write permissions to the default GITHUB_TOKEN:
permissions:
  contents: write
This allows the workflow to perform write operations within its own repository.
However, it does not automatically grant access to other repositories.
8. Recommended Configuration
For the automated scraping and blog synchronization scenario described in this article, I recommend using a Fine-grained PAT.
There are several reasons:
- No changes to the existing synchronization script’s authentication logic are required, assuming it already supports PAT authentication.
- The token can be restricted to
zhangdapeng.dev. - Only Contents: Read and write is needed for the described Git operations.
- GitHub Secrets provides a convenient way to manage the credential.
- The overall configuration is straightforward and easy to maintain.
If you eventually have multiple automation projects that need access to different repositories, consider migrating to GitHub App authentication.
Here is the final recommended workflow:
name: Auto Scrape 6 Minute English

on:
  schedule:
    # Runs daily at 09:30 Beijing Time
    # Equivalent to 01:30 UTC
    - cron: '30 1 * * *'

  workflow_dispatch:

jobs:
  scrape_and_sync:
    runs-on: ubuntu-latest

    steps:
      - name: Checkout repository
        uses: actions/checkout@v4

      - name: Install pnpm
        uses: pnpm/action-setup@v3
        with:
          version: 8

      - name: Setup Node.js
        uses: actions/setup-node@v4
        with:
          node-version: 20
          cache: 'pnpm'

      - name: Install dependencies
        run: pnpm install
        env:
          PNPM_ONLY_BUILT_DEPENDENCIES: ""

      - name: Run Scraper and Sync
        run: pnpm start
        env:
          GIT_SYNC_ENABLED: "true"
          GIT_SYNC_REPO: "https://github.com/durban89/zhangdapeng.dev.git"
          GIT_SYNC_BRANCH: "main"
          GIT_SYNC_CONTENT_DIR: "content/6-minute-english"
          GIT_SYNC_TOKEN: ${{ secrets.SYNC_TOKEN }}
          GIT_SYNC_COMMIT_NAME: "durban89"
          GIT_SYNC_COMMIT_EMAIL: "[email protected]"
This workflow assumes that the underlying synchronization script correctly supports PAT-based authentication and that the target branch allows pushes from the authenticated identity.
9. Conclusion
Cross-repository synchronization failures in GitHub Actions are fundamentally permission and authentication issues, rather than simply Git command problems.
When troubleshooting similar issues, follow this checklist:
- Identify which repository runs the workflow.
- Determine whether the target repository is the same as the workflow repository.
- Check the permission scope of
GITHUB_TOKEN. - Verify that the authentication token has Contents write permission on the target repository.
- Check whether the Git synchronization script correctly handles authentication credentials.
- Store credentials securely using GitHub Secrets.
- Rerun the workflow and verify that the push succeeds.
For individual developers, GitHub Actions, GitHub Secrets, and Fine-grained PATs are sufficient for most cross-repository automation scenarios.
There is no need to introduce an unnecessarily complex authentication architecture for a simple synchronization task. However, convenience should never come at the expense of credential security.
Always follow the Principle of Least Privilege: give automation workflows only the permissions they actually need to do their jobs.